
On our trips we always encourage runners to carry a camera with them, as the photo opportunities are endless and so unique - we encounter so much when exploring on foot! Of course, everyone wants great #travelpics, but no one is running with a big DSLR and a bag of lenses on their back - everyone is running with a smartphone. We reached out to Jeff Genova, a pro photographer who shot our spring Morocco trips last year (yes, he really did go running with a DSLR and a bag of lenses on his back) and asked him for tips on taking great photos using only the devices that we carry in our pockets.

So you want to take better pictures with your smartphone? Easy. There are a few things I tell my students when they ask how I get such good photos with my phone, starting with these rules:
1. The best camera in the world is the one you have with you, so make the best of it.
2. Never pass up a shot. Don't say that you'll come back and take it later; the lighting,
people, timing and mood will never be the same. It only takes a couple of seconds,
minutes at the most, to snap that shot. Even if you do come back, things will have changed. Take it now.
3. Make your picture tell a story. We read a photo just like a book - top left to bottom right. So, keep that in mind when you set up your shot.
4. Give your picture a subject, something for the viewer to focus on.
5. Use the rule of thirds. Don't center your subject, offset it.
6. Take a picture that evokes emotion, tells a story without words and that makes people stop when they see it.
With all of that being said, rules are meant to be broken. The most important thing is to take the picture. If you have time and the perfect setup, great! But remember - you'll have nothing if you never take the shot. Learn to look at the world differently, through the lens of your camera - and yes, this includes your smartphone.
Now that you have some guidelines on what to look for and how to compose your shot, here are some tips to help you take sharper pictures:
1. Brace your camera or phone against something like a bench or tree for stabilization.
2. Use your volume buttons as a shutter release so that you don't jar it so much by tapping on the screen. With an iPhone you can also use the volume buttons on your headphones as a shutter release.
3. Shoot a quick burst of three or four photos. The first will be blurry because the pressure of pushing the buttons moves the camera ever so slightly, but the second or third will be sharper.
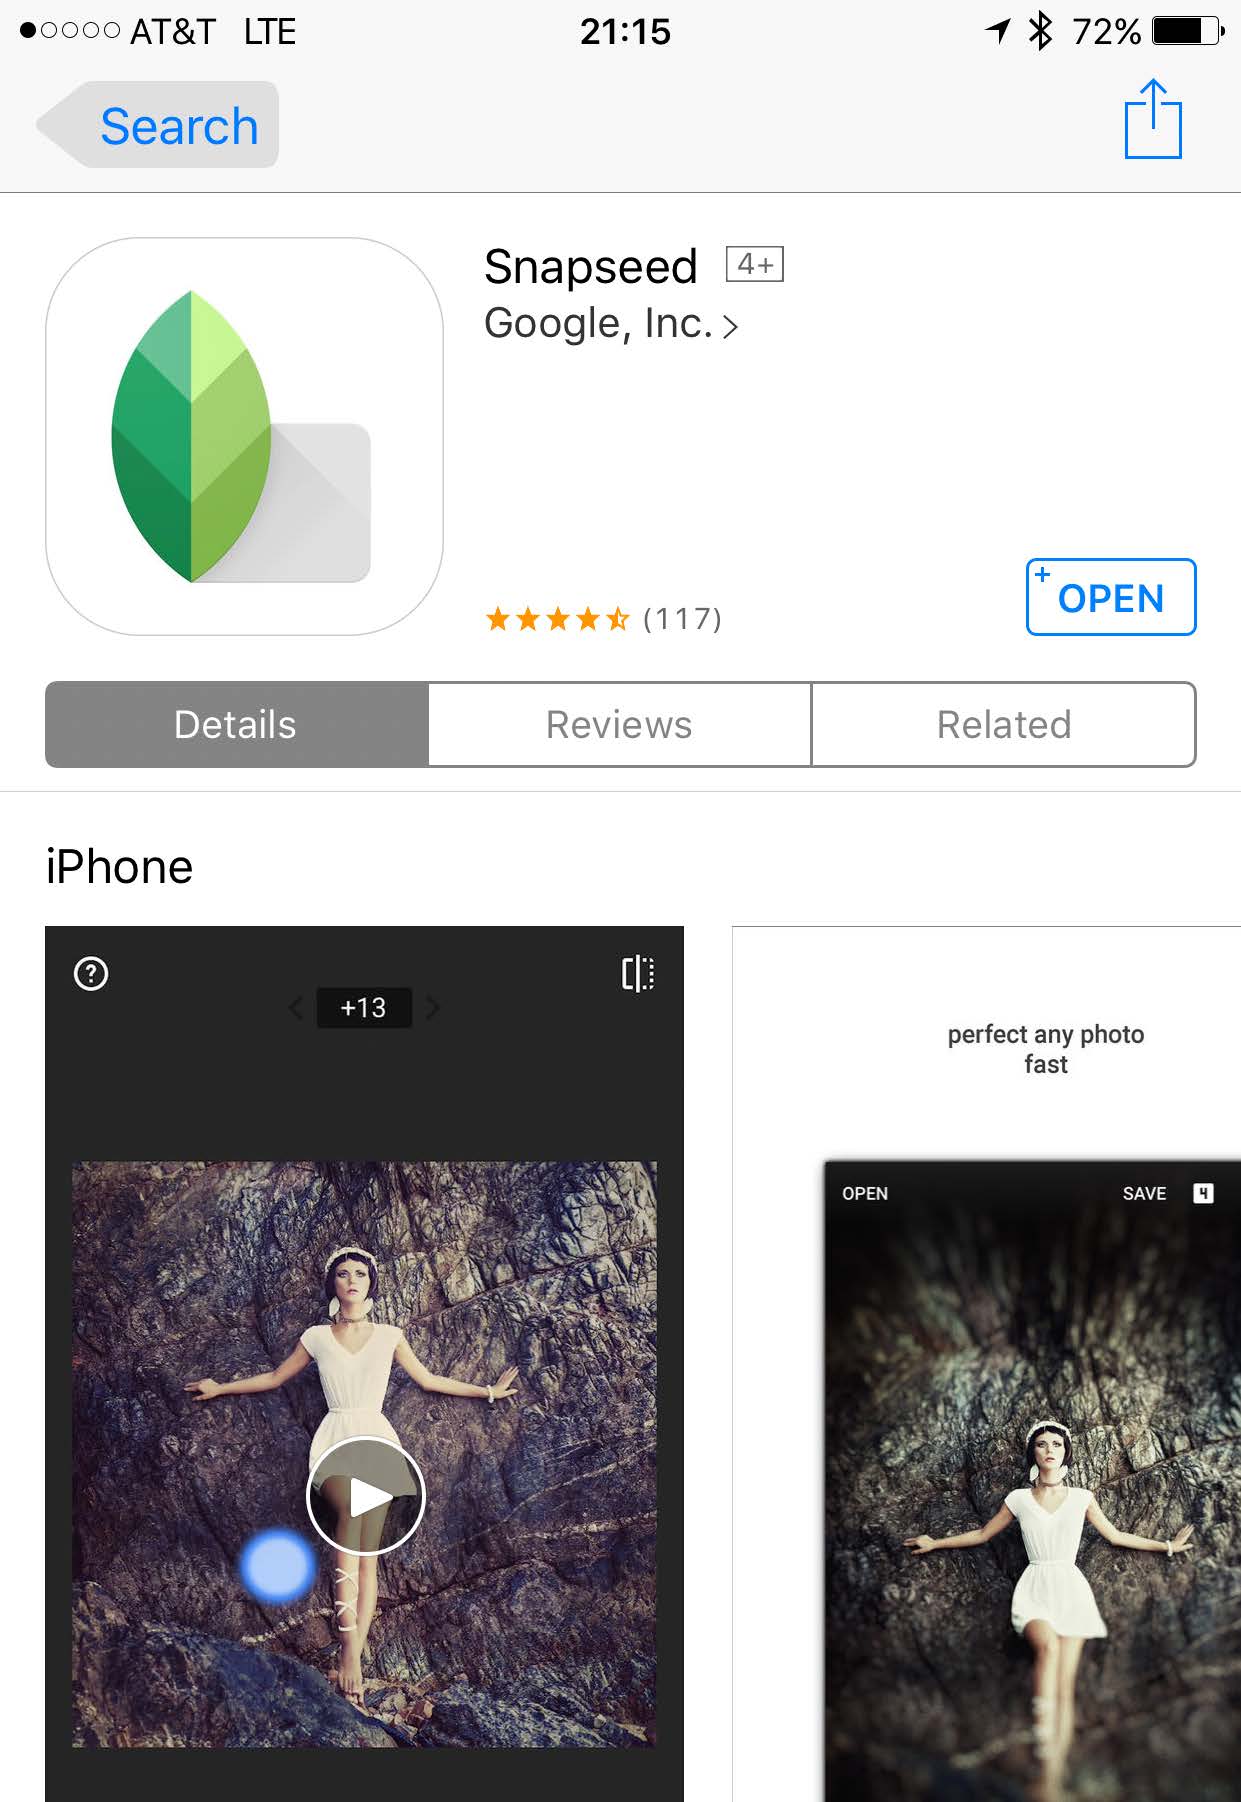
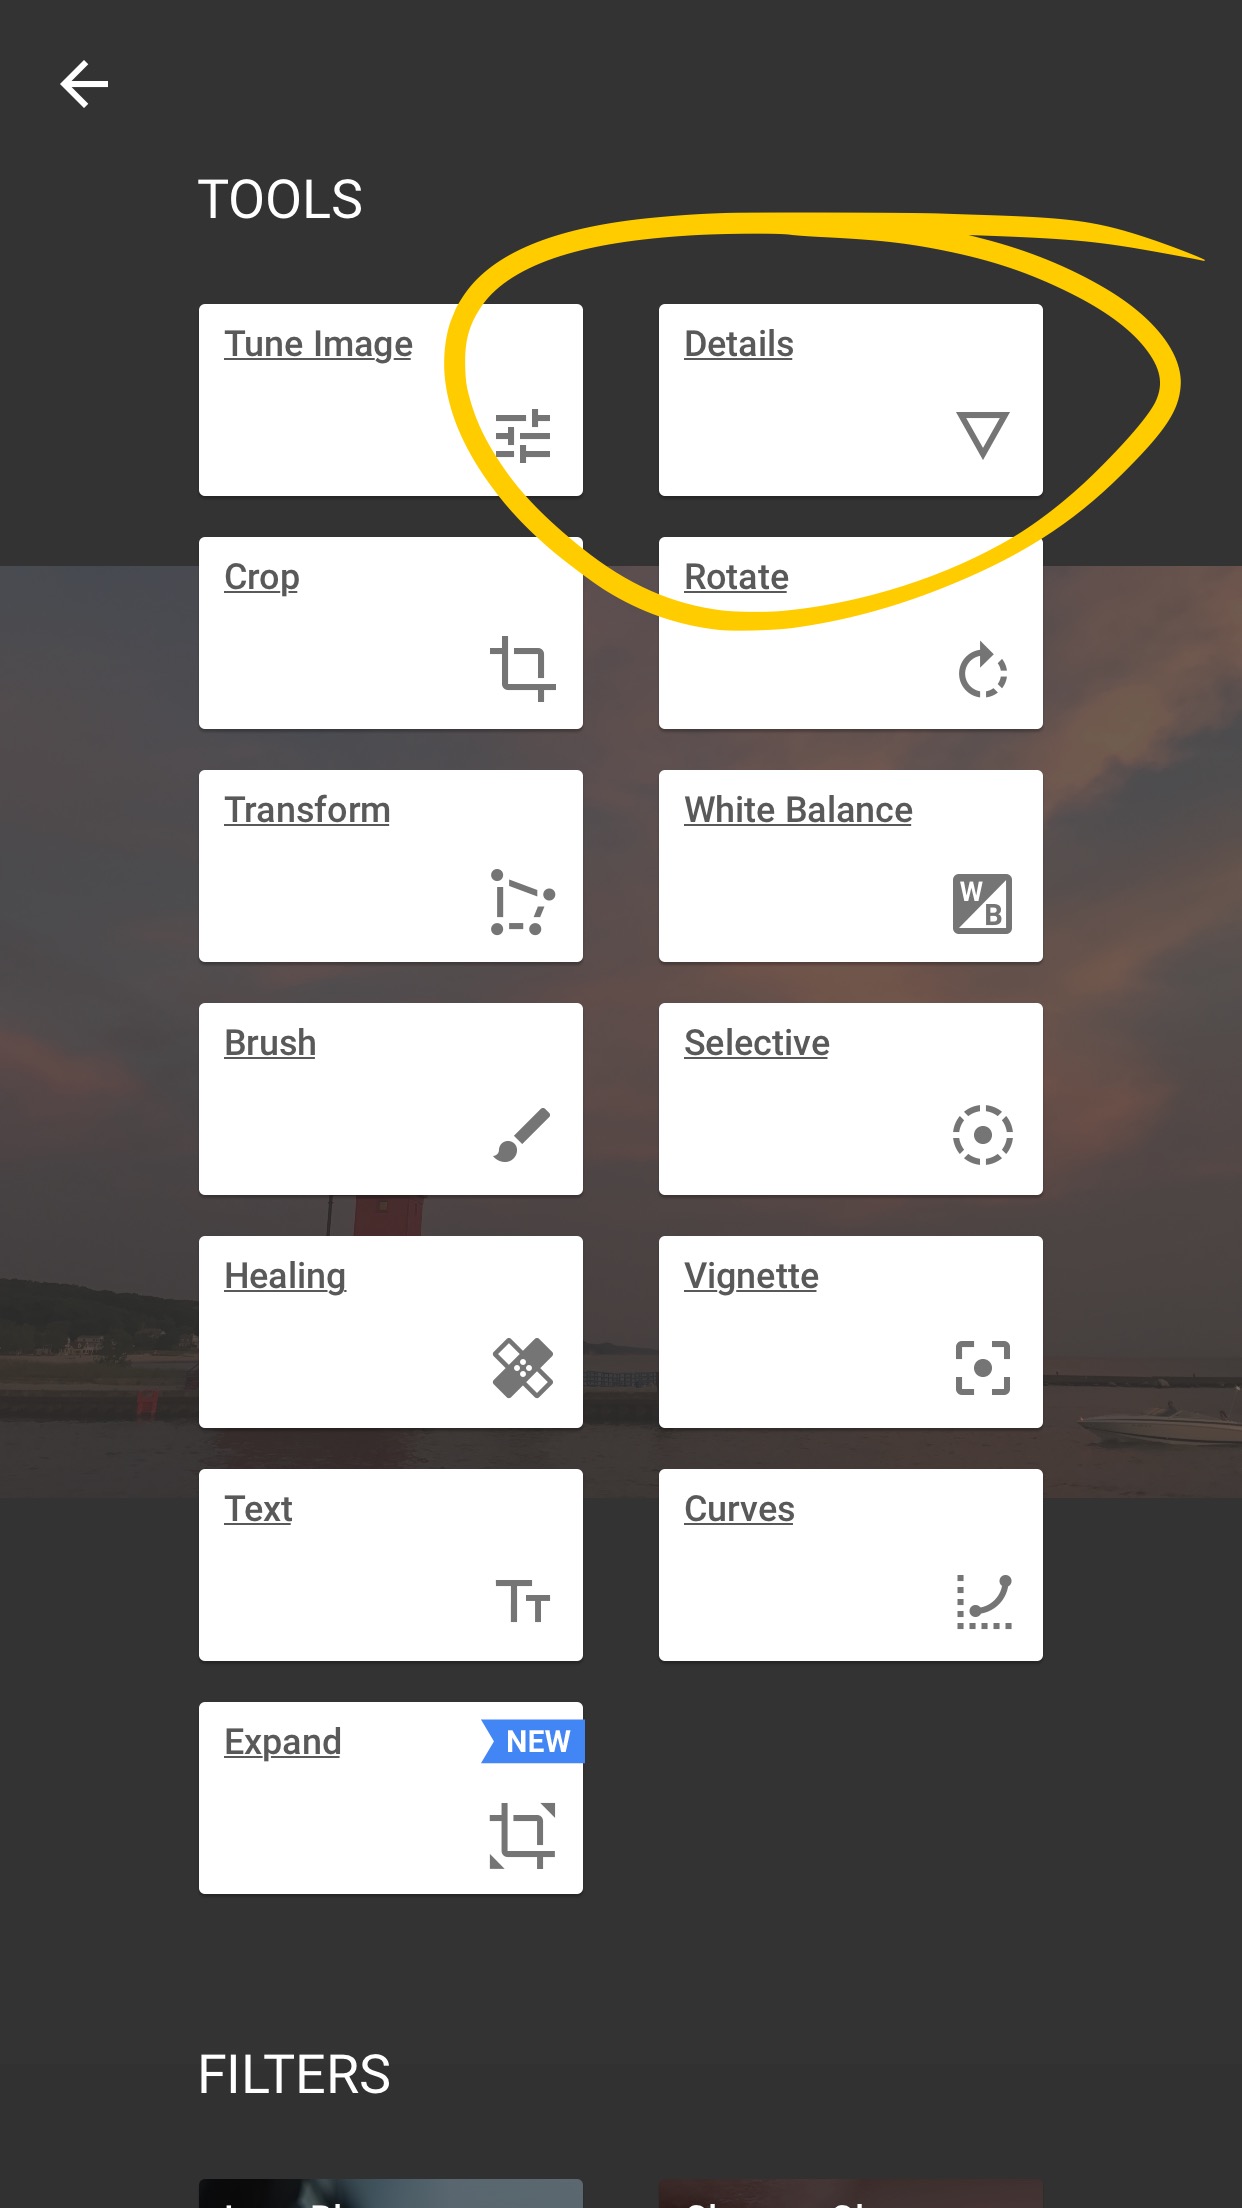
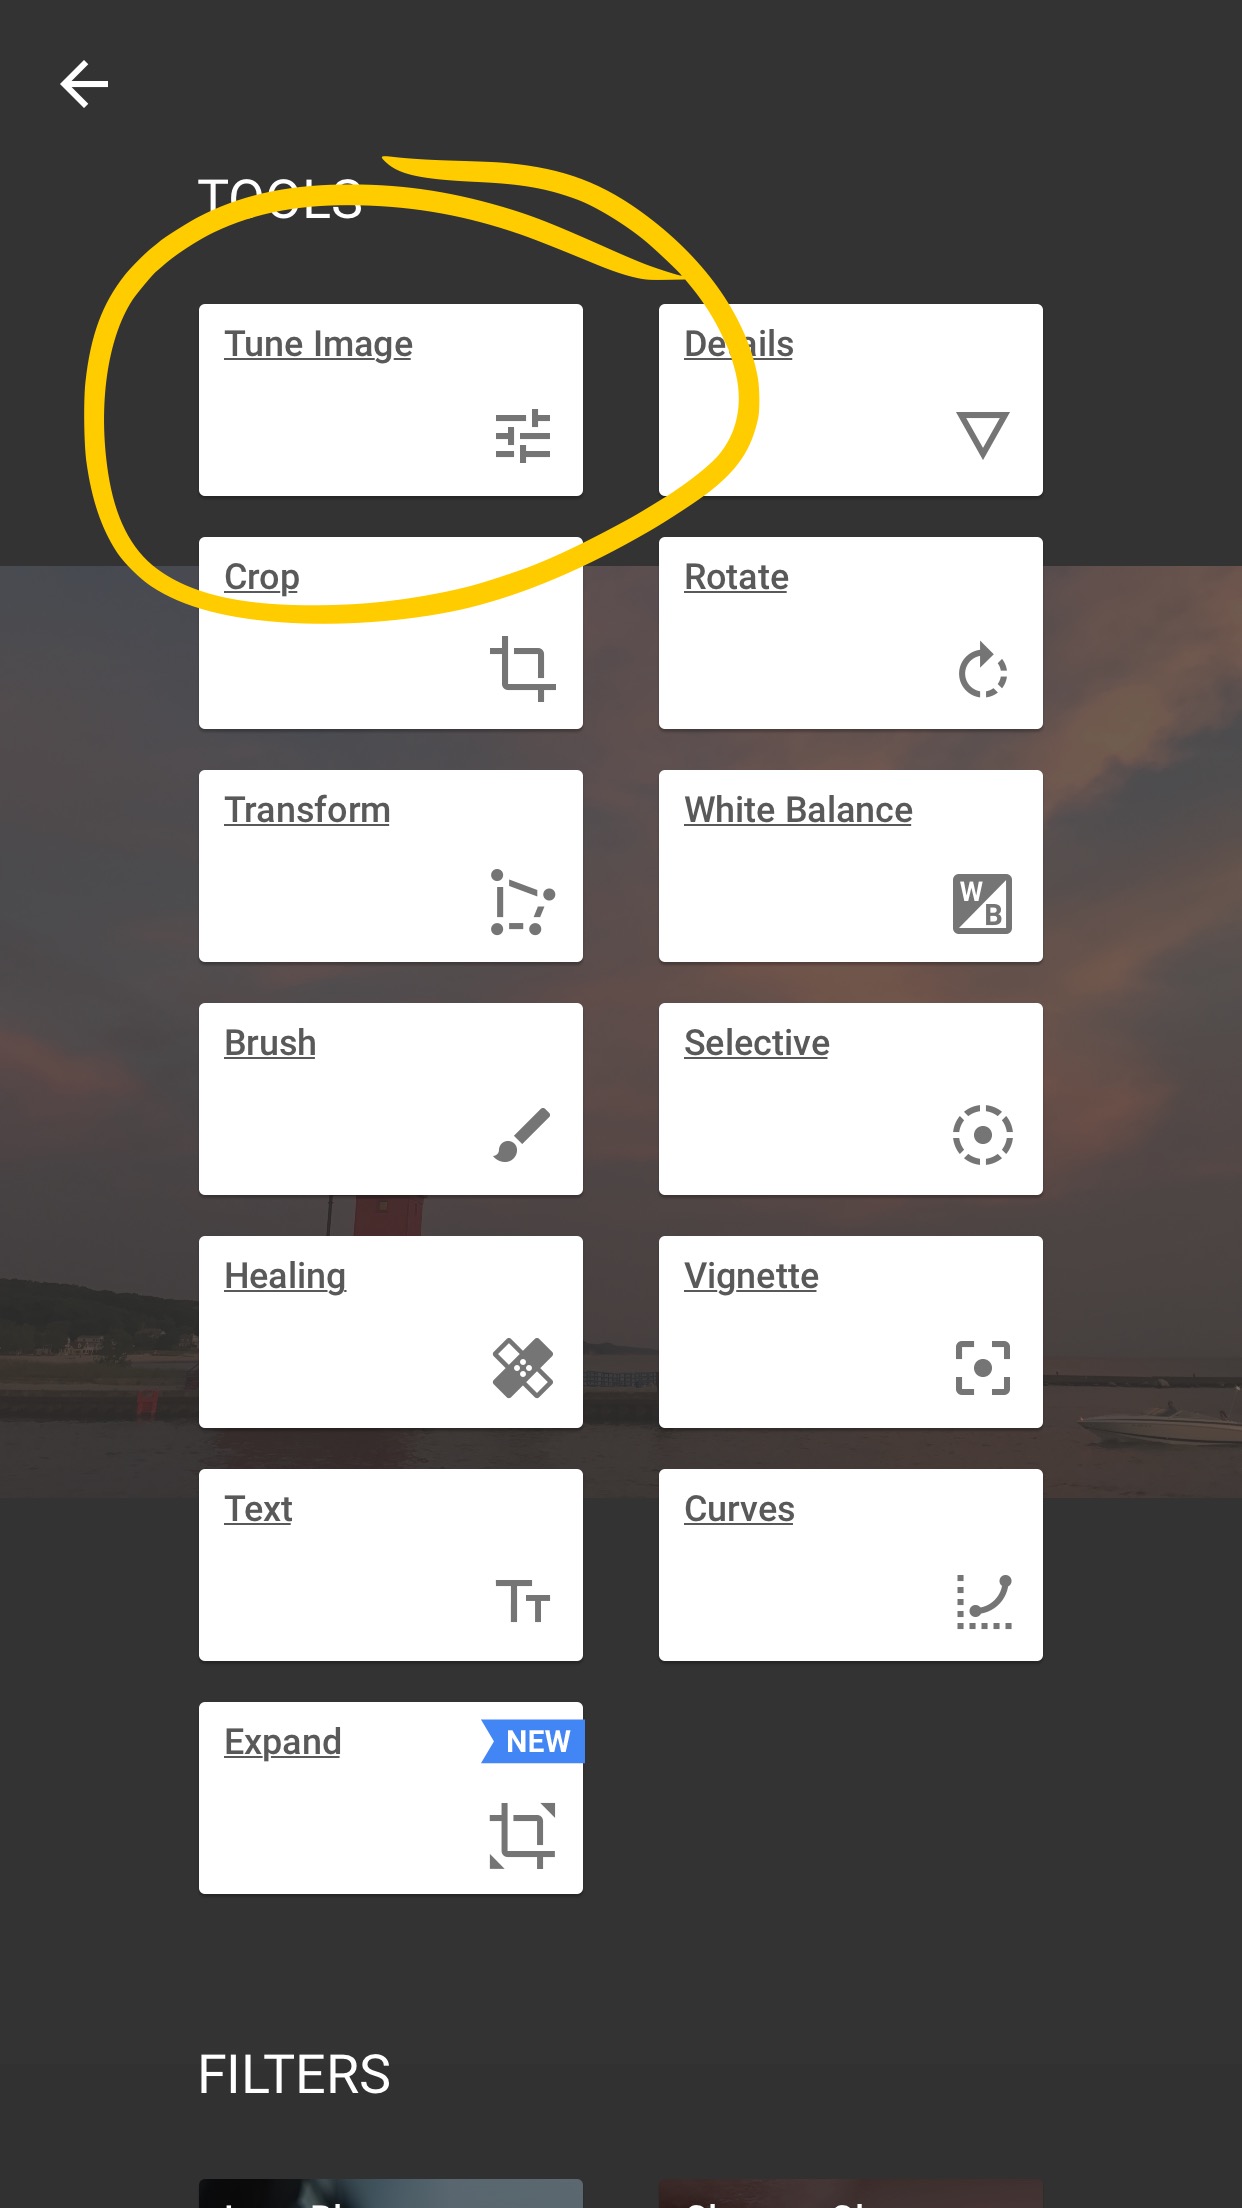
Got it? Now that you have a sharp, well-composed image, let's talk about how to make it even better with post processing. I use two apps to enhance the images I take: Snapseed, and Photoshop Express. Both are free and available through the App Store and Google play, and both have lots of tools and filters to help enhance and personalize your images. You can pull shadows out, darken highlights, remove elements, soften skin and more! I primarily use these apps to bring out the natural colors that tend to be muted when you take a photograph.
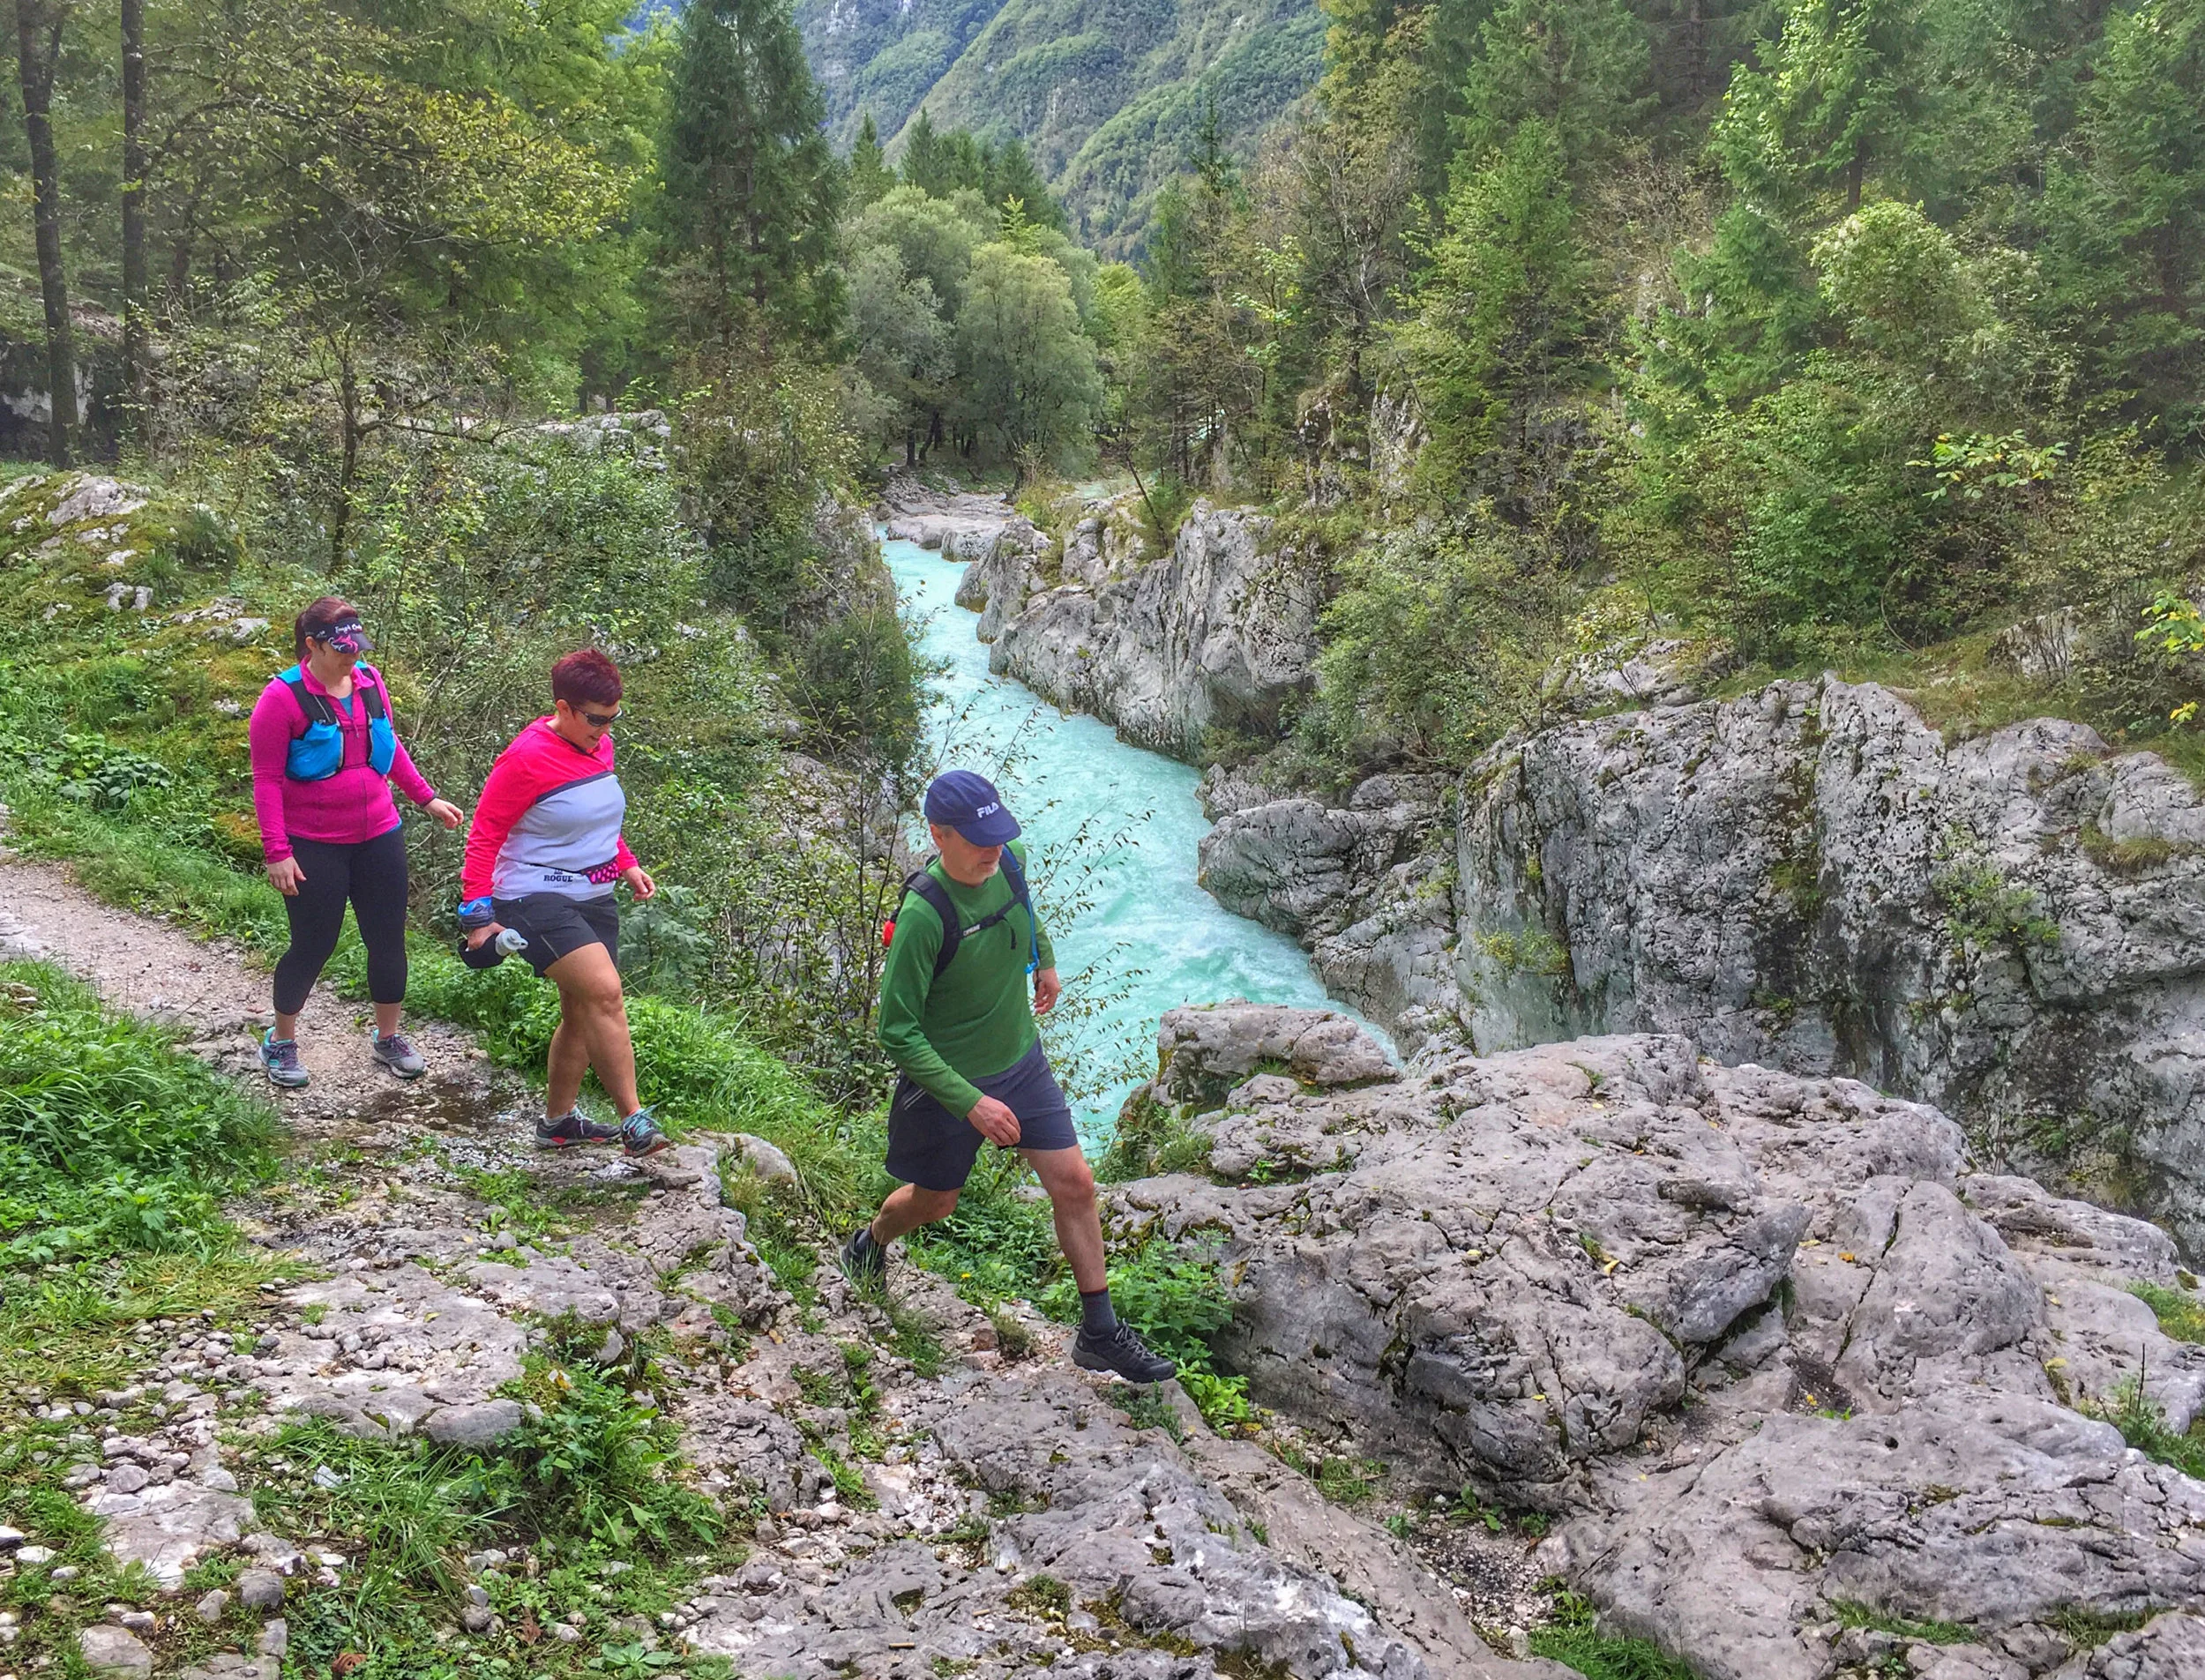
Here is an example of a "before" shot:

And here is the "after":

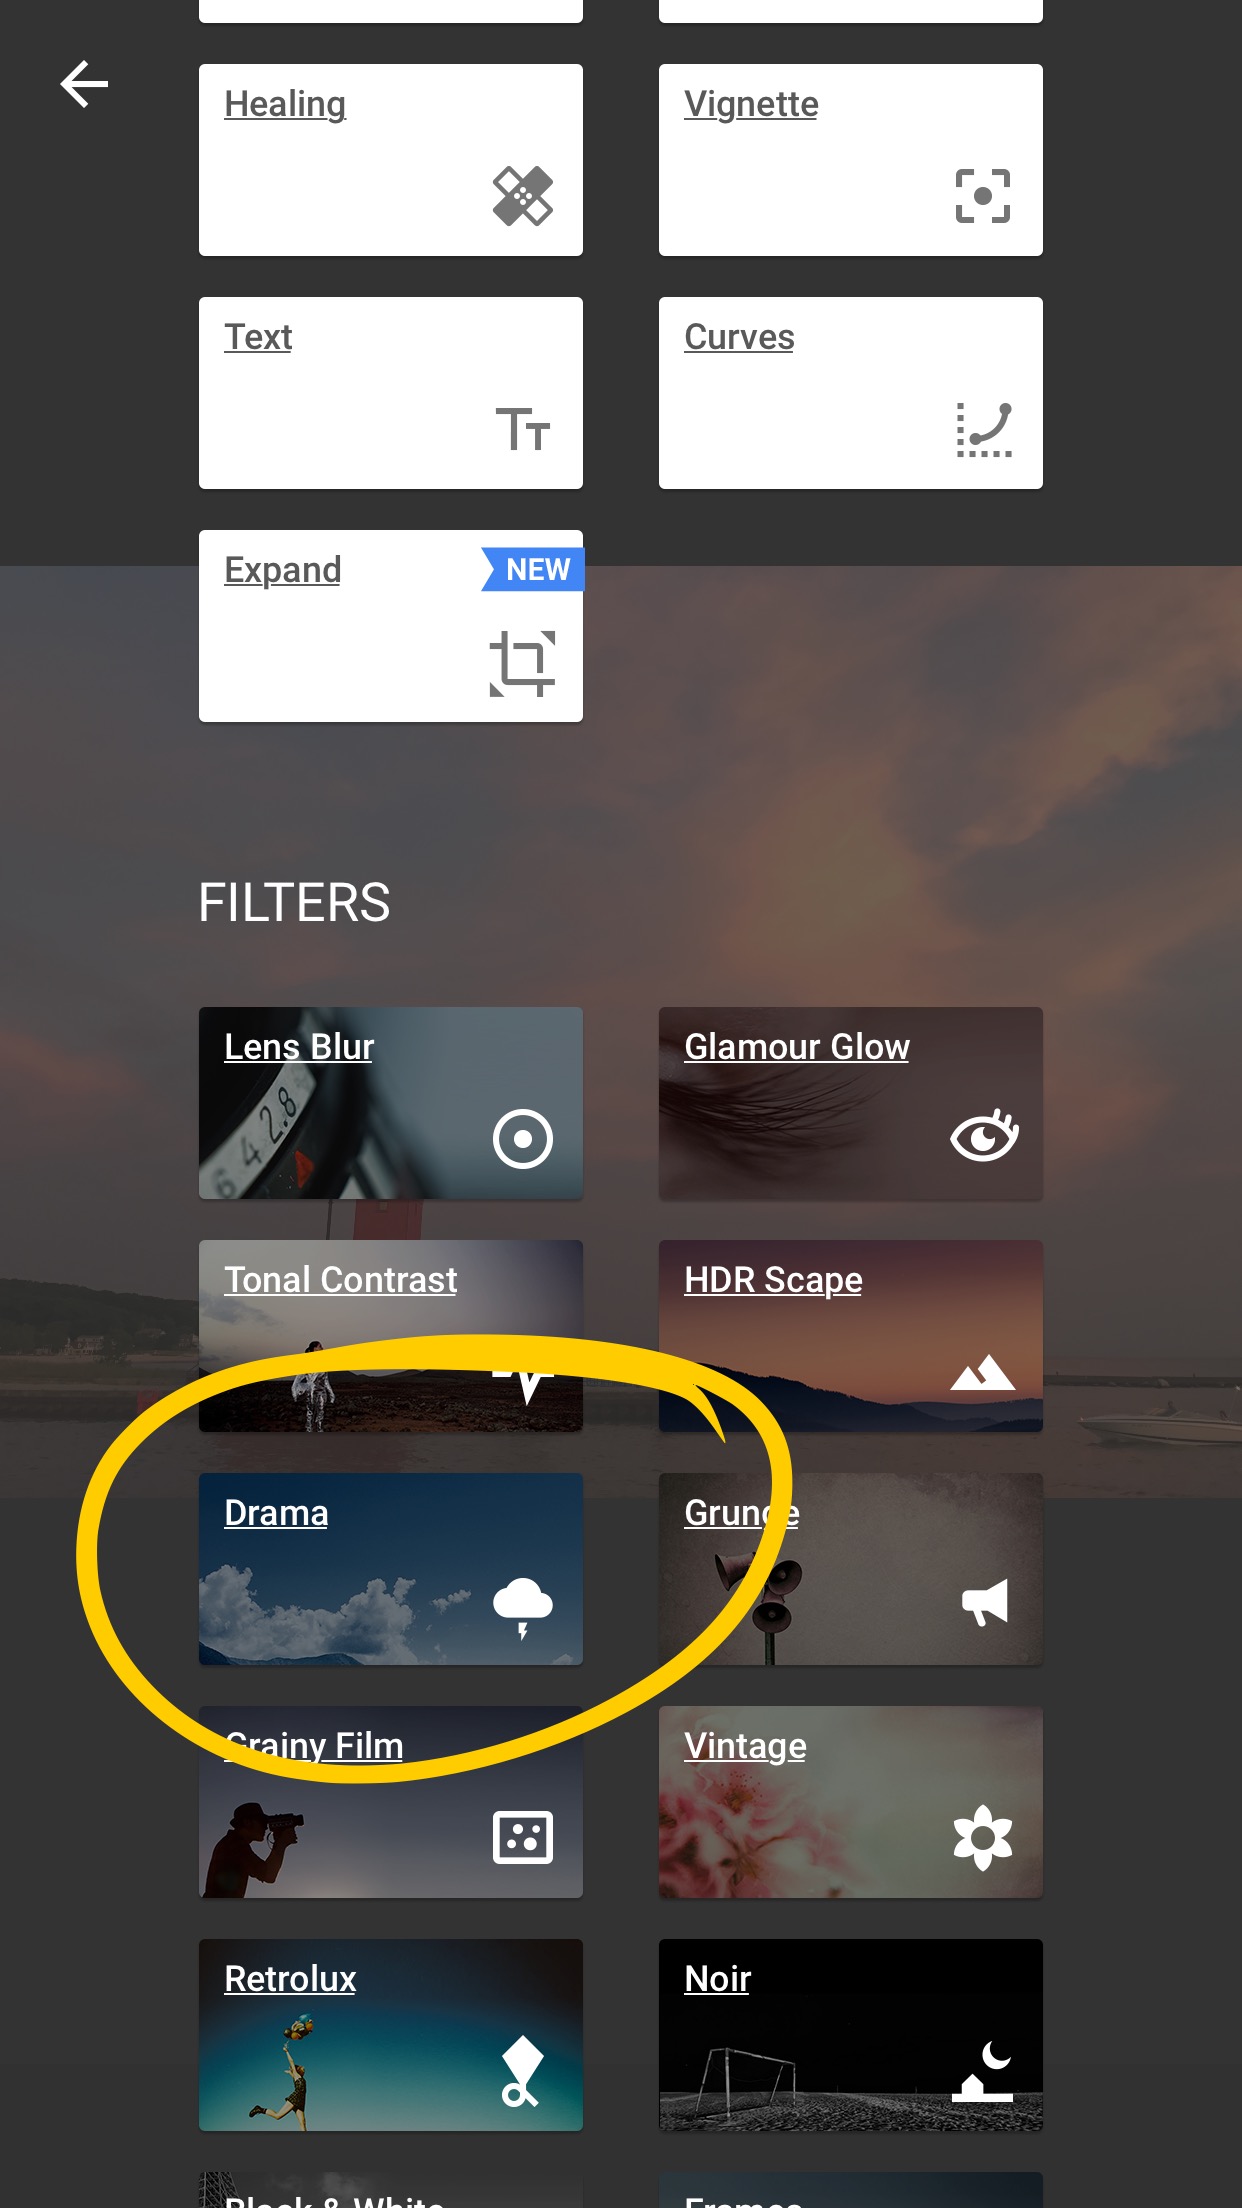
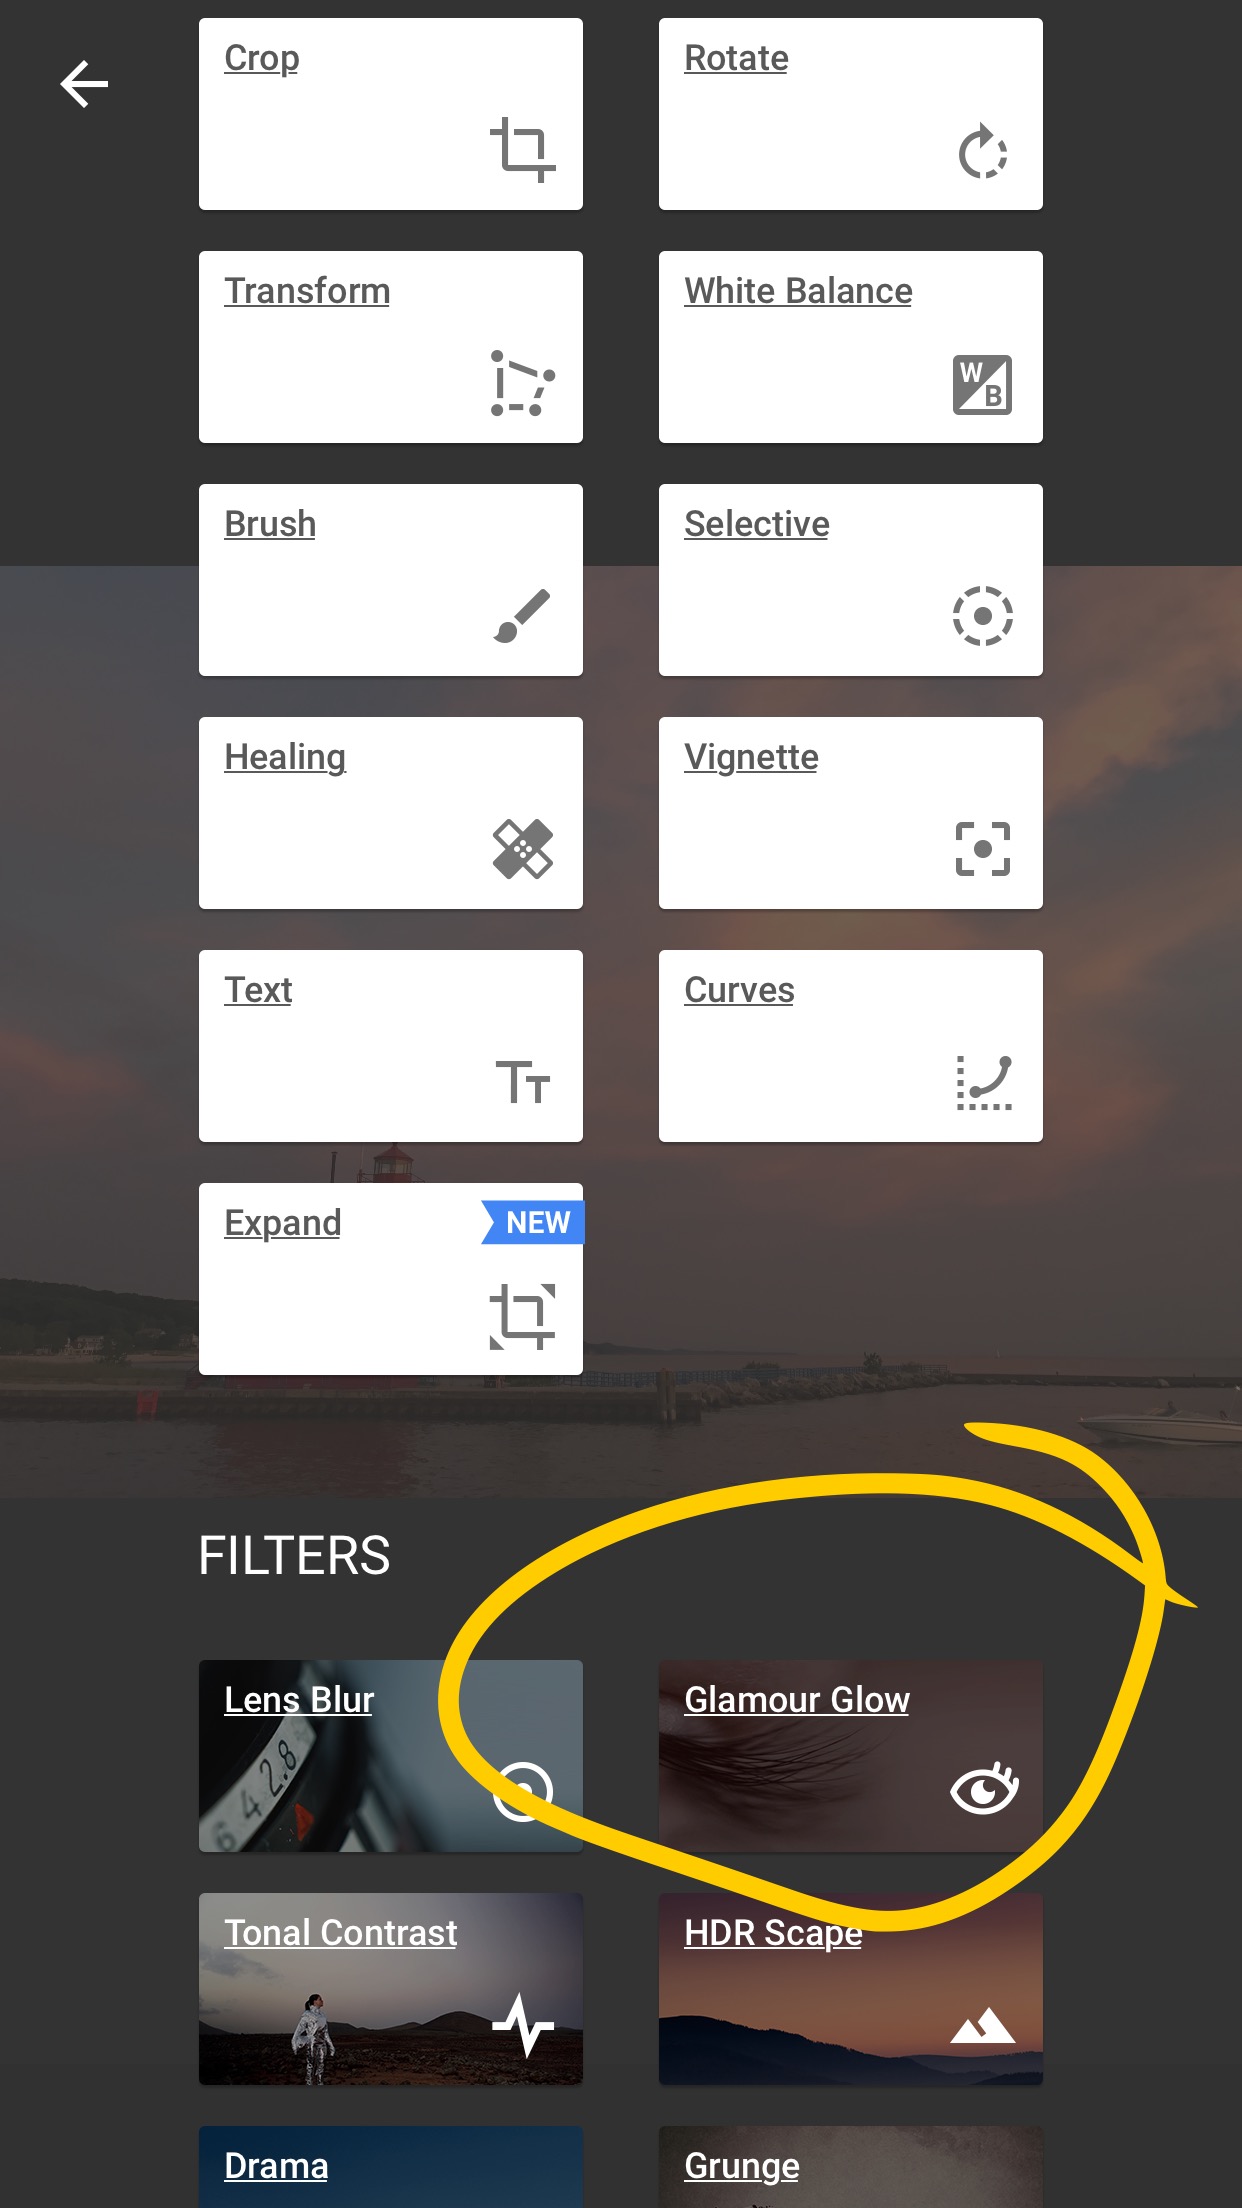
For this image I used Snapseed and started with the Drama tool - a little goes a long way with this one! Next, I used the Details tool to add structure and sharpen, then I used Image Tune, which allows you to adjust contrast, highlights, shadows, warmth, exposure and more. Finally, I used the Glamor Glow tool to warm and soften the image:
Once you've perfected your photo, save a copy and then you are done. Remember that this image is yours: You took it. You kept it. You edited it. You love it!
Now, go out and take some pictures. Try both apps. Use all the different tools. Figure out which ones work best for you. The more you play, the better you will get and the better your photos will become.
-------------------------
Check out Jeff's photography website here, and make sure to check out the photos that he took for our Gorges & Sahara trip and Endurance Adventure Morocco!
